Create a Custom Waiver
The Waiver page offers all the functionality you need to create a custom, well-designed waiver that goes beyond legal protection. This tool is designed to help you build trust with your customers by setting clear expectations, reinforcing transparency, and showing attention to detail in every aspect of your business.
We’ve released a robust set of features that allow you to tailor open text input fields for any scenario, ensuring each waiver is as unique as the services you provide. With these customizable options, you can add the exact clauses, language, and brand elements your business requires.

By default the waiver page will show the available certification organisation waivers from the organisation your business is connected to. Those waivers can solely be viewed and not edited.
Creating a New Waiver
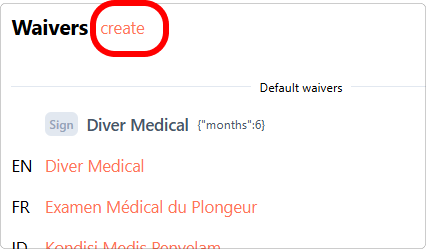
You can create a new waiver through the create hyperlink.
There’s a few basic settings to set when creating a waiver. Those are described on the ‘Creating Onboarding Journeys’ page of the user manual. If you’ve missed those, you can find them below:
Click here to view the waiver settings and input fields
Identifier
Umbrella name for this waiver. This is used for you to recognize the waiver, regardless the different names per language ‘Display name’ used.
Valid term
The period a signed waiver remains valid or is open for signing to your customer.
Signature required checkbox
Determines if this waiver is shown as a separate signed waiver, or embedded into your registration form as a tick box.
Language
The language used for the waiver you’re creating.
Display name
The dedicated name for the language you’re entering. This is the name that your customers will see.
Text input field
The actual waiver text can be entered here. Through the available cheatsheet, you can see what ‘markdown’ text formatting options can be made.
Input Field:
To create an input field you can use the ‘Input’ hyperlink. This will create the following:
{% input value= /%}Behind the comparison sign ”=”, you can fill in the desired value or insert one of the available attributes.
Optional fixed values in the input field:
- participant
- operator
- Custom text
Input Field With Customer Name
Selecting ‘Input’ followed by ‘Participant’ will create a fixed input field populated with your customer’s name. This name is automatically taken from the registration form, making the filling and signing process faster and more convenient for your customer.
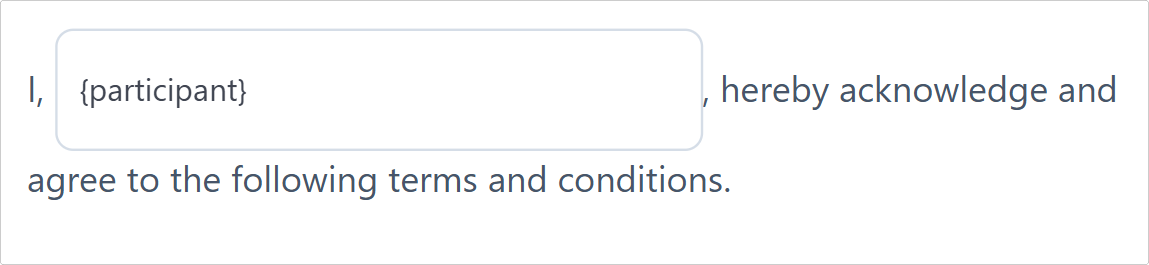
{% input value=$participant /%}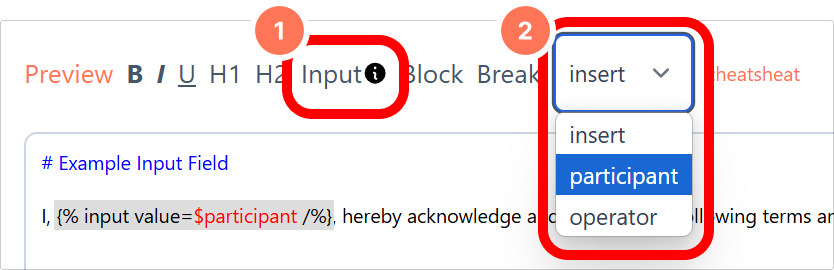
Previewing this field will display it as shown in the example below.
During your customer’s onboarding process, this field is prefilled with their name.
Input Field With an Edible prefilled Text
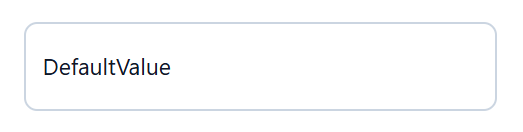
After selecting ‘Input’, you can also add a fixed custom text may this be required ‘Participant’ after each other will create the following.
{% input name="default_value" defaultValue="Default Value" required=true/%}This input field will appear to your customer as a prefilled, but editable input field.
Input Field With Guiding Text (placeholder)
Additional attributes for an input field
May you want to give your customer more freedom and seek to create an open text input field, you can use the following attributes.
- name:
The name (key) under which the entered text gets saved, if you have multiple inputs, use different names. - placeholder:
A guiding text shown when the input is empty. - required:
Use if the input field is required - defaultValue:
The value the input is filled with by default. This can be overwritten by your customer - value:
The value the input is filled with. Fixed value Value that cannot be changed
Examples
We kindly refer you to our Diversdesk Waiver Cheatsheet for code examples.