Quickstart Guide
Welcome to Diversdesk!
We’re excited to help you get up and running. Follow these four essential steps to transition from setup to your first booking.
“Well begun is half done.” — Aristotle
1. Log In to Your Environment
Section titled “1. Log In to Your Environment”Once your environment is ready, you will receive a confirmation email containing your unique access URL and login credentials.
-
Access: Navigate to your specific URL (or app.diversdesk.com) and click Log In in the top right corner.
-
Passwordless Entry: You don’t need a password to start; simply use OTP (One-Time Password) to receive a login code by email.
A password can be created at any time via your profile icon after logging in.
-
Navigation: Once inside, a hamburger menu (≡) will appear in the top left corner of your screen. This is where you will find all menu items to operate your business.
2. Personalize & Add Your Offerings
Section titled “2. Personalize & Add Your Offerings”Now it’s time to make the platform yours by inputting your core business data.
-
Company Profile: Set your basic details and defaults under
Menu > Settings > General. Here you can edit company info, set default units, and define ‘direct booking’ (bookings via your webshop) behavior.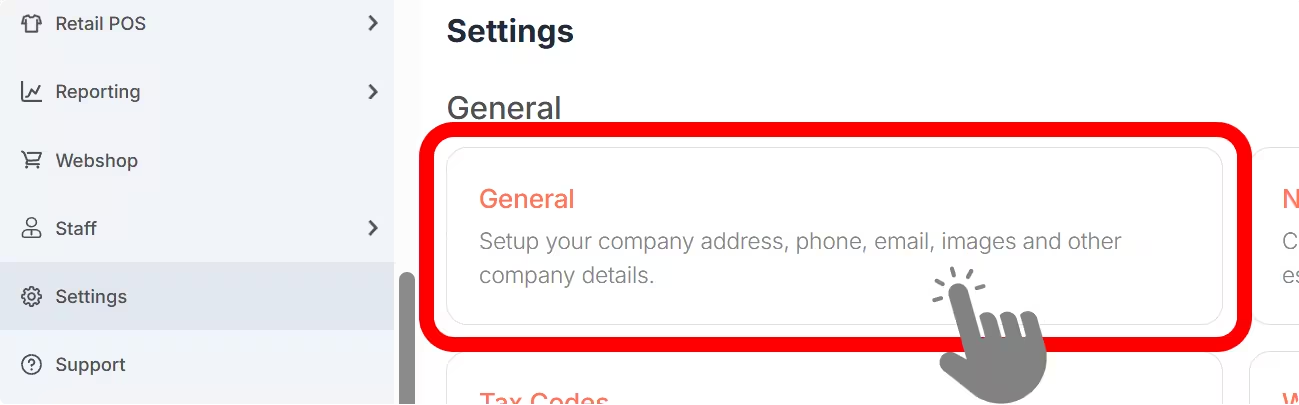
-
Activities & Pricing: Define what you offer (courses, trips, etc.) via
Menu > Activities > Pricing. Add-ons can be entered during activity creation or managed via the dedicated tab on the pricing page.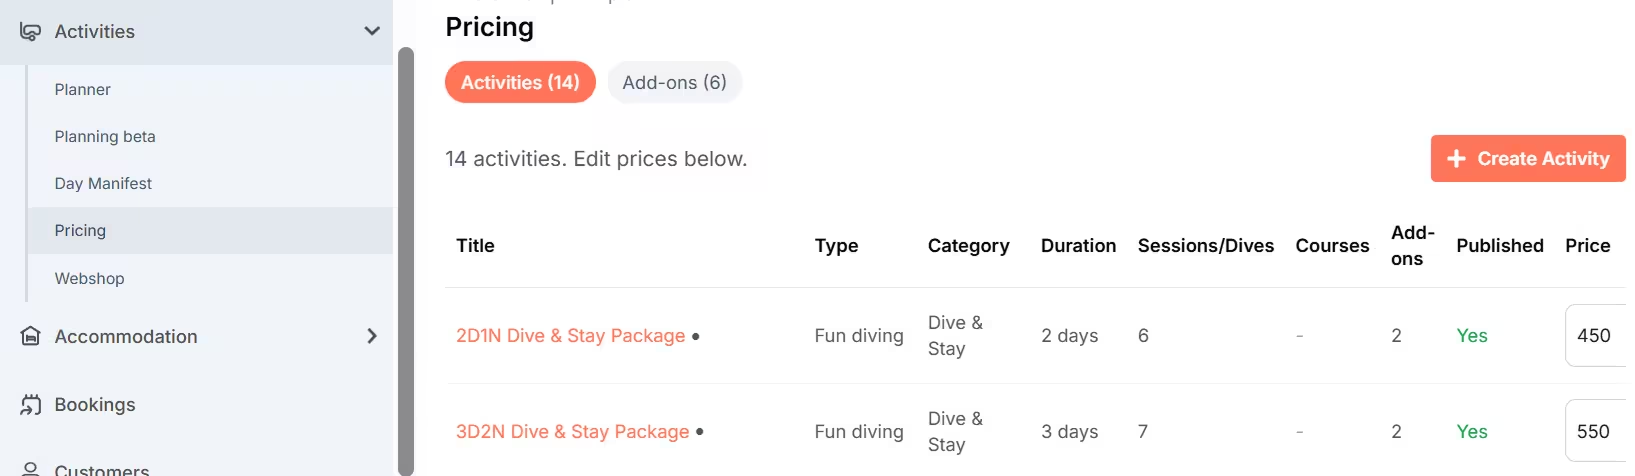
-
Inventory (Optional): Rentals and Retail items can be managed on their dedicated pages. Both allow you to enter categories and underlying products.
-
Accommodation (Optional): If you manage lodging, enter these via
Menu > Accommodation > Calendar. You can set up room types, individual rooms, and use Price Rules for seasonal pricing. Read more about this on the Accommodation page.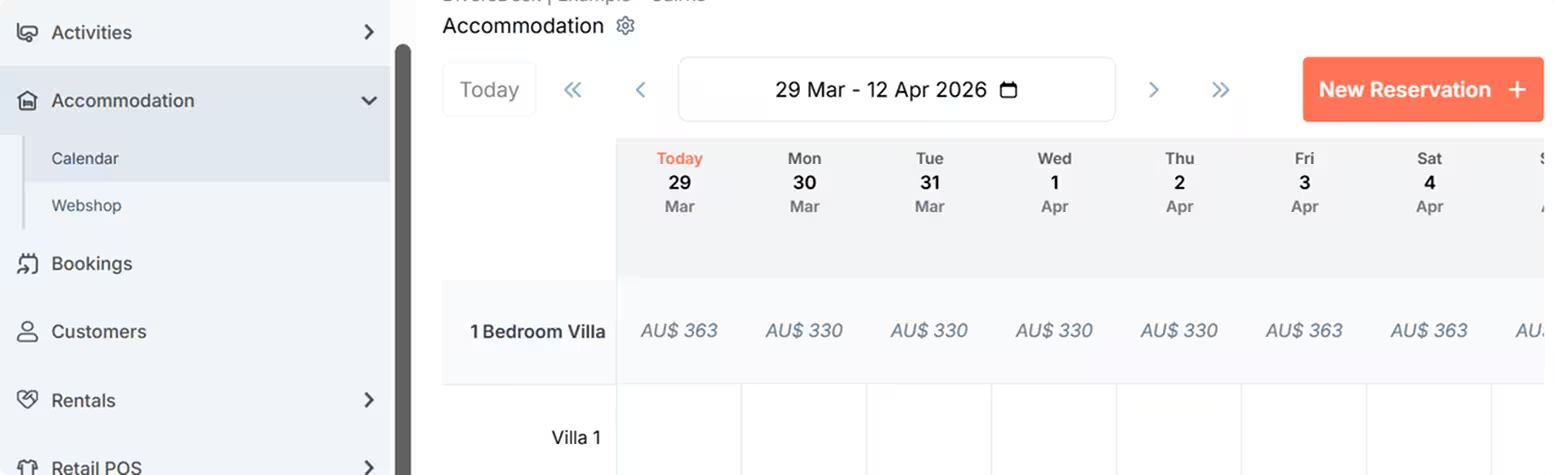
3. Build Your Customer Onboarding Journeys
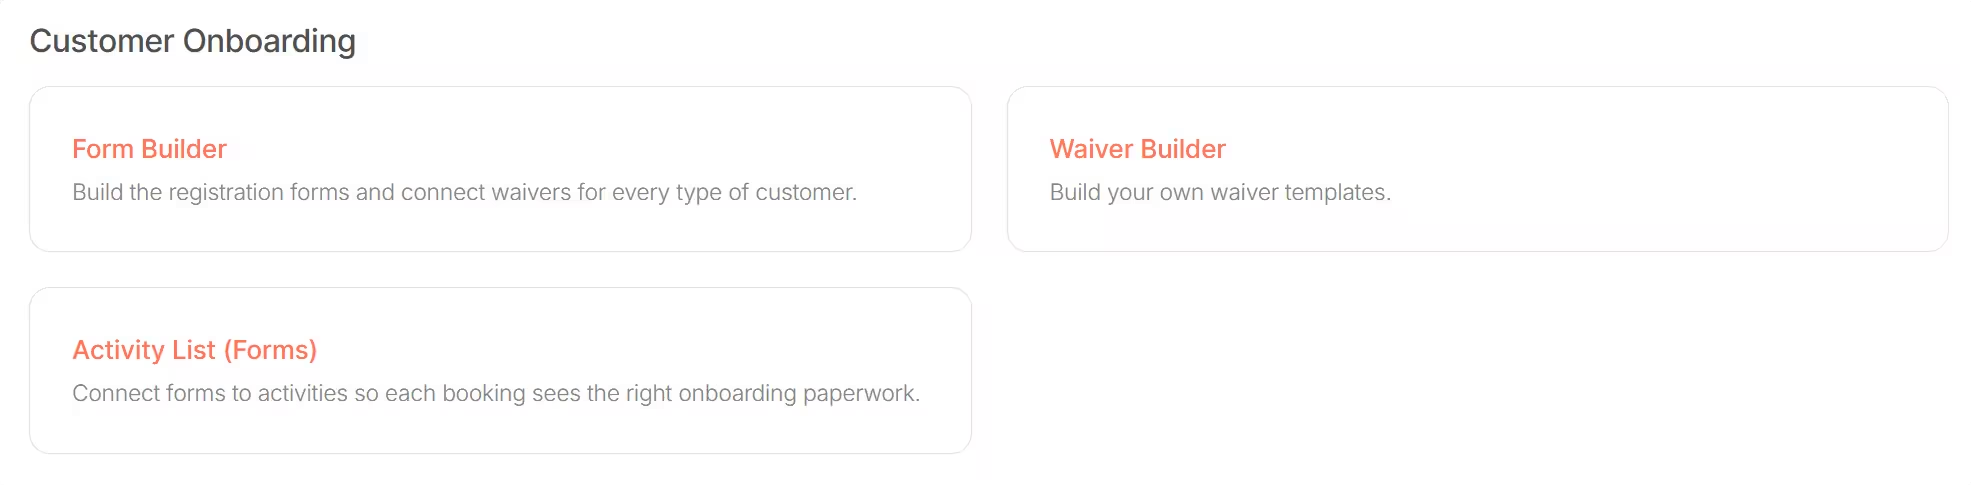
Section titled “3. Build Your Customer Onboarding Journeys”A smooth check-in starts with the right paperwork. Under Menu > Settings, you will find three key items in the Onboarding section:
- Form Builder: Create a “set of paperwork” for each guest type. Choose which registration fields to show and which waivers to connect.
- Waiver Builder: Create custom liability waivers, rental contracts, or terms and conditions tailored to your needs.
- Activities List (Forms): Link your journeys to your products. This ensures that when a customer books a specific activity, they automatically receive the correct digital documents.
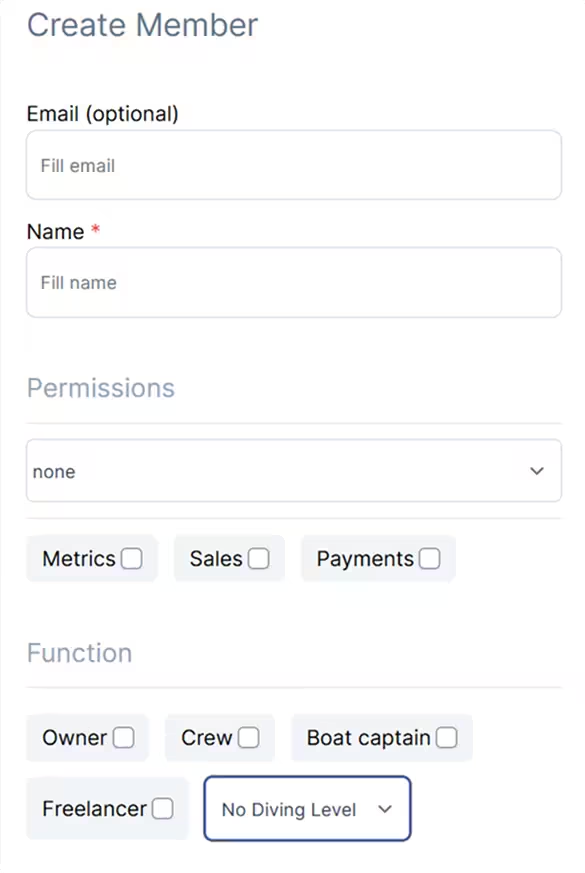
4. Add Your Team
Section titled “4. Add Your Team”Get your staff onboarded so they can manage bookings and view schedules.
-
User Management: Go to
Settings > Usersto add your team members. Once added, your staff can log in with their email and OTP, just like you did in step 1. -
Permissions: Assigning specific functions (Manager, Divemaster, Instructor, Crew, etc.) automatically grants role-specific views, allowing staff to only see their own schedule and assigned participants.
On top of this, you can use “Manager” permission to allow editing, “Staff++” permission to grant full access to your planning, but restricted to read only, and set permission to view reporting pages.
Learn more on the Users & Rights page.
You are now ready to start enjoying our software. 🎉
Section titled “You are now ready to start enjoying our software. 🎉”Your environment is all set up and ready to go. Head over to Booking and Scheduling to plan your first activity and start exploring the features!